Here’s the truth: you don’t need to be a tech genius to set up a dashcam. I get it — the idea of mounting something on your windshield and running cables through your car can feel intimidating. But honestly? It’s simpler than you think, and you’ll be done in about 30 minutes. So, let’s dive into setting up your first dashcam.
We’re going to walk through the whole process together: where to mount it, how to run the cable so it looks clean, setting up your memory card, and adjusting a few key settings. If you’re curious about parking mode or hardwiring (that’s when you connect it directly to your car’s electrical system), we’ll save that for another guide. Today, it’s all about getting your camera up and running the straightforward way.
Why even a basic dashcam is worth having
Accidents happen fast. Witnesses disappear. People’s memories of what happened get fuzzy or flat-out wrong. Your dashcam doesn’t have those problems — it just records what actually happened.
That footage protects you from false claims, helps with insurance disputes, and documents hit-and-runs. Even basic cameras do this job well. You don’t need expensive features — you just need a camera that’s installed correctly and records reliably.
Quick legal check: windshield rules in your state
Before you stick anything on your windshield, take two minutes to check your state’s rules. There are two things you need to check:
- Make sure your state does not ban the use of dashcams. At the time of writing using a dashcam is legal in all 50 states, subject to varying rules on where they can be mounted. But, as we know, things can change.
- Windshield obstruction laws vary, and some states get specific about where devices can go. Most states are fine with dashcams behind the rearview mirror or in the lower passenger-side corner.
Your state DMV website should have the details, or just search:
- “[your state] dashcam law.”
- “[your state] windshield obstruction law.”
Better to know now than get a ticket later.
What you’ll need
Your dashcam box should have the camera, mounting bracket, and power cable. You’ll also need a microSD card — most cameras don’t include one. Get a high-endurance card (they’re made for constant recording). A 32GB or 64GB card is plenty.
Grab a microfiber cloth and glass cleaner for the windshield, and maybe a plastic card or trim tool for tucking cables. That’s it.
Pro tip: Before installing anything, plug the camera in inside your house and record a quick test video. Make sure it actually works before you commit to mounting it.
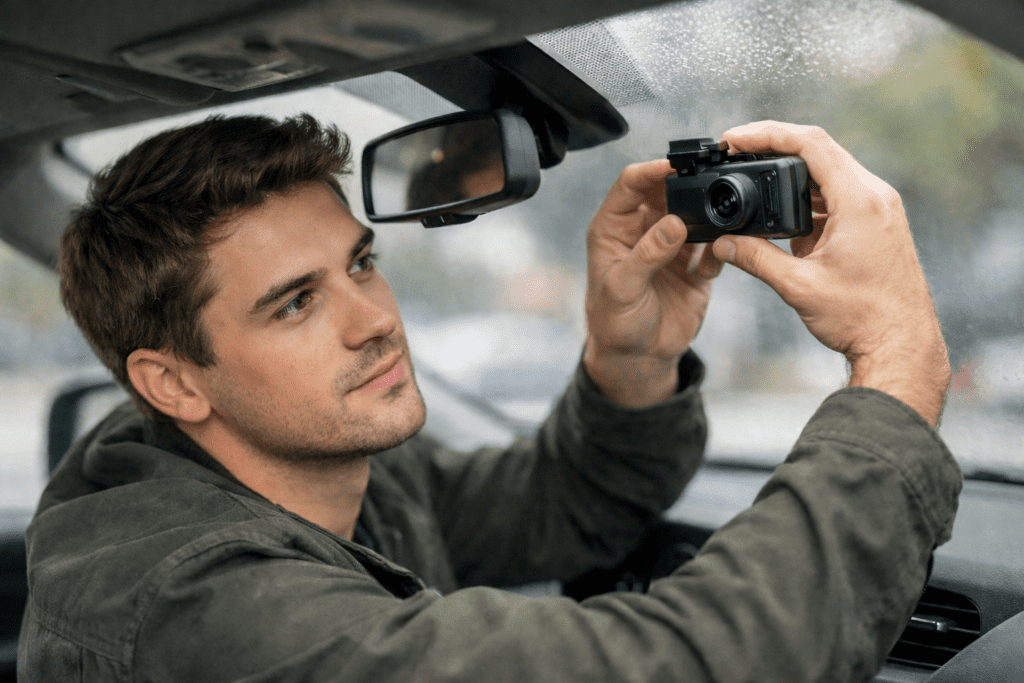
Step 1: Pick the right spot
As I said above, check your state rules on where you must locate he dashcam.
Many states permit placement high on your windshield, centered behind or just beside your rearview mirror. You get the best view of the road, it stays out of your sightline, and after a few days you won’t even notice it’s there.
Avoid mounting it too low (blocks your view), on the dotted black area around the edges (adhesive won’t stick), or outside your wiper coverage (rain will blur the lens). Also check for rain sensors or lane-keeping cameras near your mirror — give those some space.
Step 2: Clean and stick it (properly)
Clean that spot on your windshield like you mean it. Glass cleaner, microfiber cloth, no streaks. Let it dry completely. Adhesive won’t stick to dirt or moisture, and you don’t want your camera falling off a week later.
There are two common types of mount:
Adhesive Mounts
Peel the backing off the mount, line it up carefully, and press firmly for 10-15 seconds. Don’t move it once it touches the glass — repositioning weakens the bond. Most mounts need 15-30 minutes to cure before you hang the camera on them, so be patient.
Suction Mounts
You still need to take the same level of care in preparing to place the mount and it may well have a tear off backing to remove. But instead of pure adhesive it uses an over center clip for you to set to suction the mount onto the windshield.
Step 3: Plug it in
The easiest way to power your dashcam is plugging the cable into your 12V socket (the old cigarette lighter). Most cars turn this socket off when you turn off the car, which is perfect — your camera records while you drive and stops when you park.
Some cars have always-on sockets that stay powered even when the car’s off. Those can drain your battery over time, so check which type you have.
Hardwiring — connecting directly to your fuse box — gives you the cleanest install and enables parking mode, but it’s more involved. We’ll save that for a separate guide.
Step 4: Hide that cable
Always be careful not to trap or scrape your fingers and don’t use too much force, you may damage the car trim or the cable.
Nobody wants a cable dangling across their windshield. Here’s the clean route: tuck the cable up into your headliner, run it along the top edge toward the passenger side, then down the A-pillar trim, and under the dash to your 12V socket.
You don’t need to remove trim panels for most of this — just gently push the cable into the gaps with your fingers or a plastic card. For the A-pillar, carefully pull the trim away slightly and tuck the cable behind it.
Be gentle around airbag areas. Don’t force cables over or behind airbag covers. If something feels stuck, stop and look for clips instead of yanking.
Step 5: Set up your memory card
Pop your microSD card into the camera (power it off first if the manual says to). It should click into place. Then format the card using the dashcam’s menu — even if it’s brand new.
Formatting sets up the file system correctly and prevents corrupted recordings. It takes 30 seconds and saves you from headaches later.
Check that the camera’s actually recording — look for a blinking light or recording icon. Do a quick test: record for 30 seconds, then play it back. If you see video, you’re good.
Also, make sure you have angled the camera so it’s pointing straight ahead. A little bit of hood showing at the bottom is fine. Too much hood wastes footage you don’t need.
Step 6: Adjust these settings now
Your camera will work on default settings, but a few quick tweaks make a real difference.
Date and time: Set these correctly. Timestamps matter if you ever need the footage as evidence.
Resolution: 1080p at 30fps is the sweet spot for most people — clear footage without filling your card too fast.
Loop recording: Set it to 3-minute clips (if you have options). The camera breaks footage into segments and overwrites old ones when the card fills up.
G-sensor: This locks footage when it detects impacts. Default sensitivity is usually too high (locks every pothole). Set it to medium or low so it only triggers during actual incidents.
Screen timeout: Set it to turn off after 30 seconds. A bright screen at night is distracting.
Step 7: Do a test drive
Drive around the block and record for a minute or two. Then play it back. Check that the horizon is level and the view looks good — not too much sky, not too much hood.
Don’t stress about reading every license plate perfectly. That’s not always possible, especially at speed or at night. What matters is clear, consistent recording of the road ahead.
Keep it working: simple maintenance
Save any important clips to your phone or computer as soon as possible — formatting erases everything.
Wipe the lens every few weeks with a microfiber cloth. Dust kills video quality. Clean the windshield around the camera too.
If something happens that you need to save, lock that file right away (there’s usually a button for this). Then transfer it off the card as soon as you can.
Quick fixes for common problems
Won’t power on: Check that your 12V socket works by testing another device. Try a different socket if your car has one.
Card error: Remove and reinsert the card. Format it through the camera menu. If it still fails, try a different card.
Mount falling off: The glass wasn’t clean enough. Clean thoroughly with glass cleaner and alcohol, let it dry completely, and use a fresh adhesive mount.
You’re all set
That’s it. Your dashcam is mounted, powered, and recording. Once it’s set up, you can pretty much forget about it — it’ll just do its job every time you drive.
Down the road, if you want to explore parking mode or hardwiring for a completely hidden installation, we’ll cover that in a separate guide. For now, you’ve got a working camera protecting you on every trip.